Fourth of July
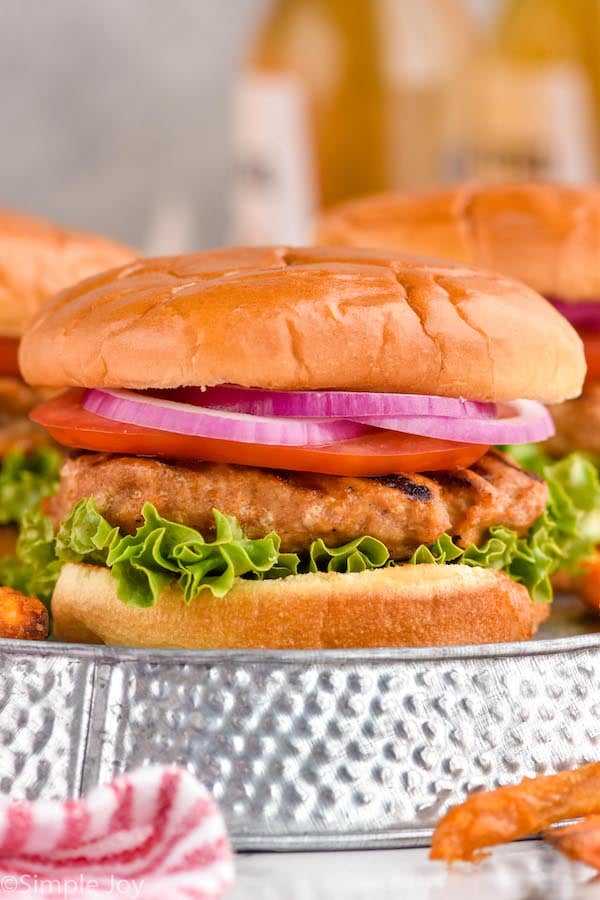
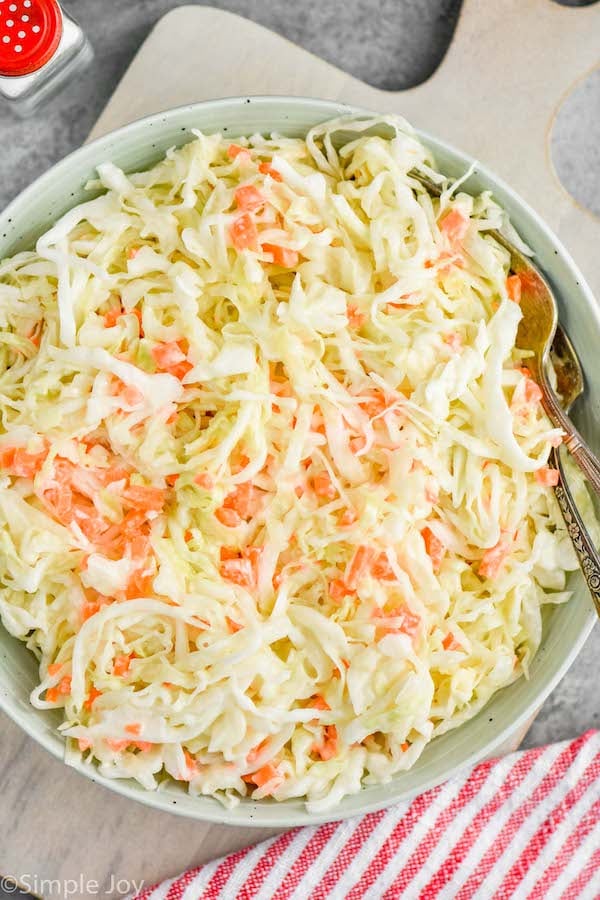
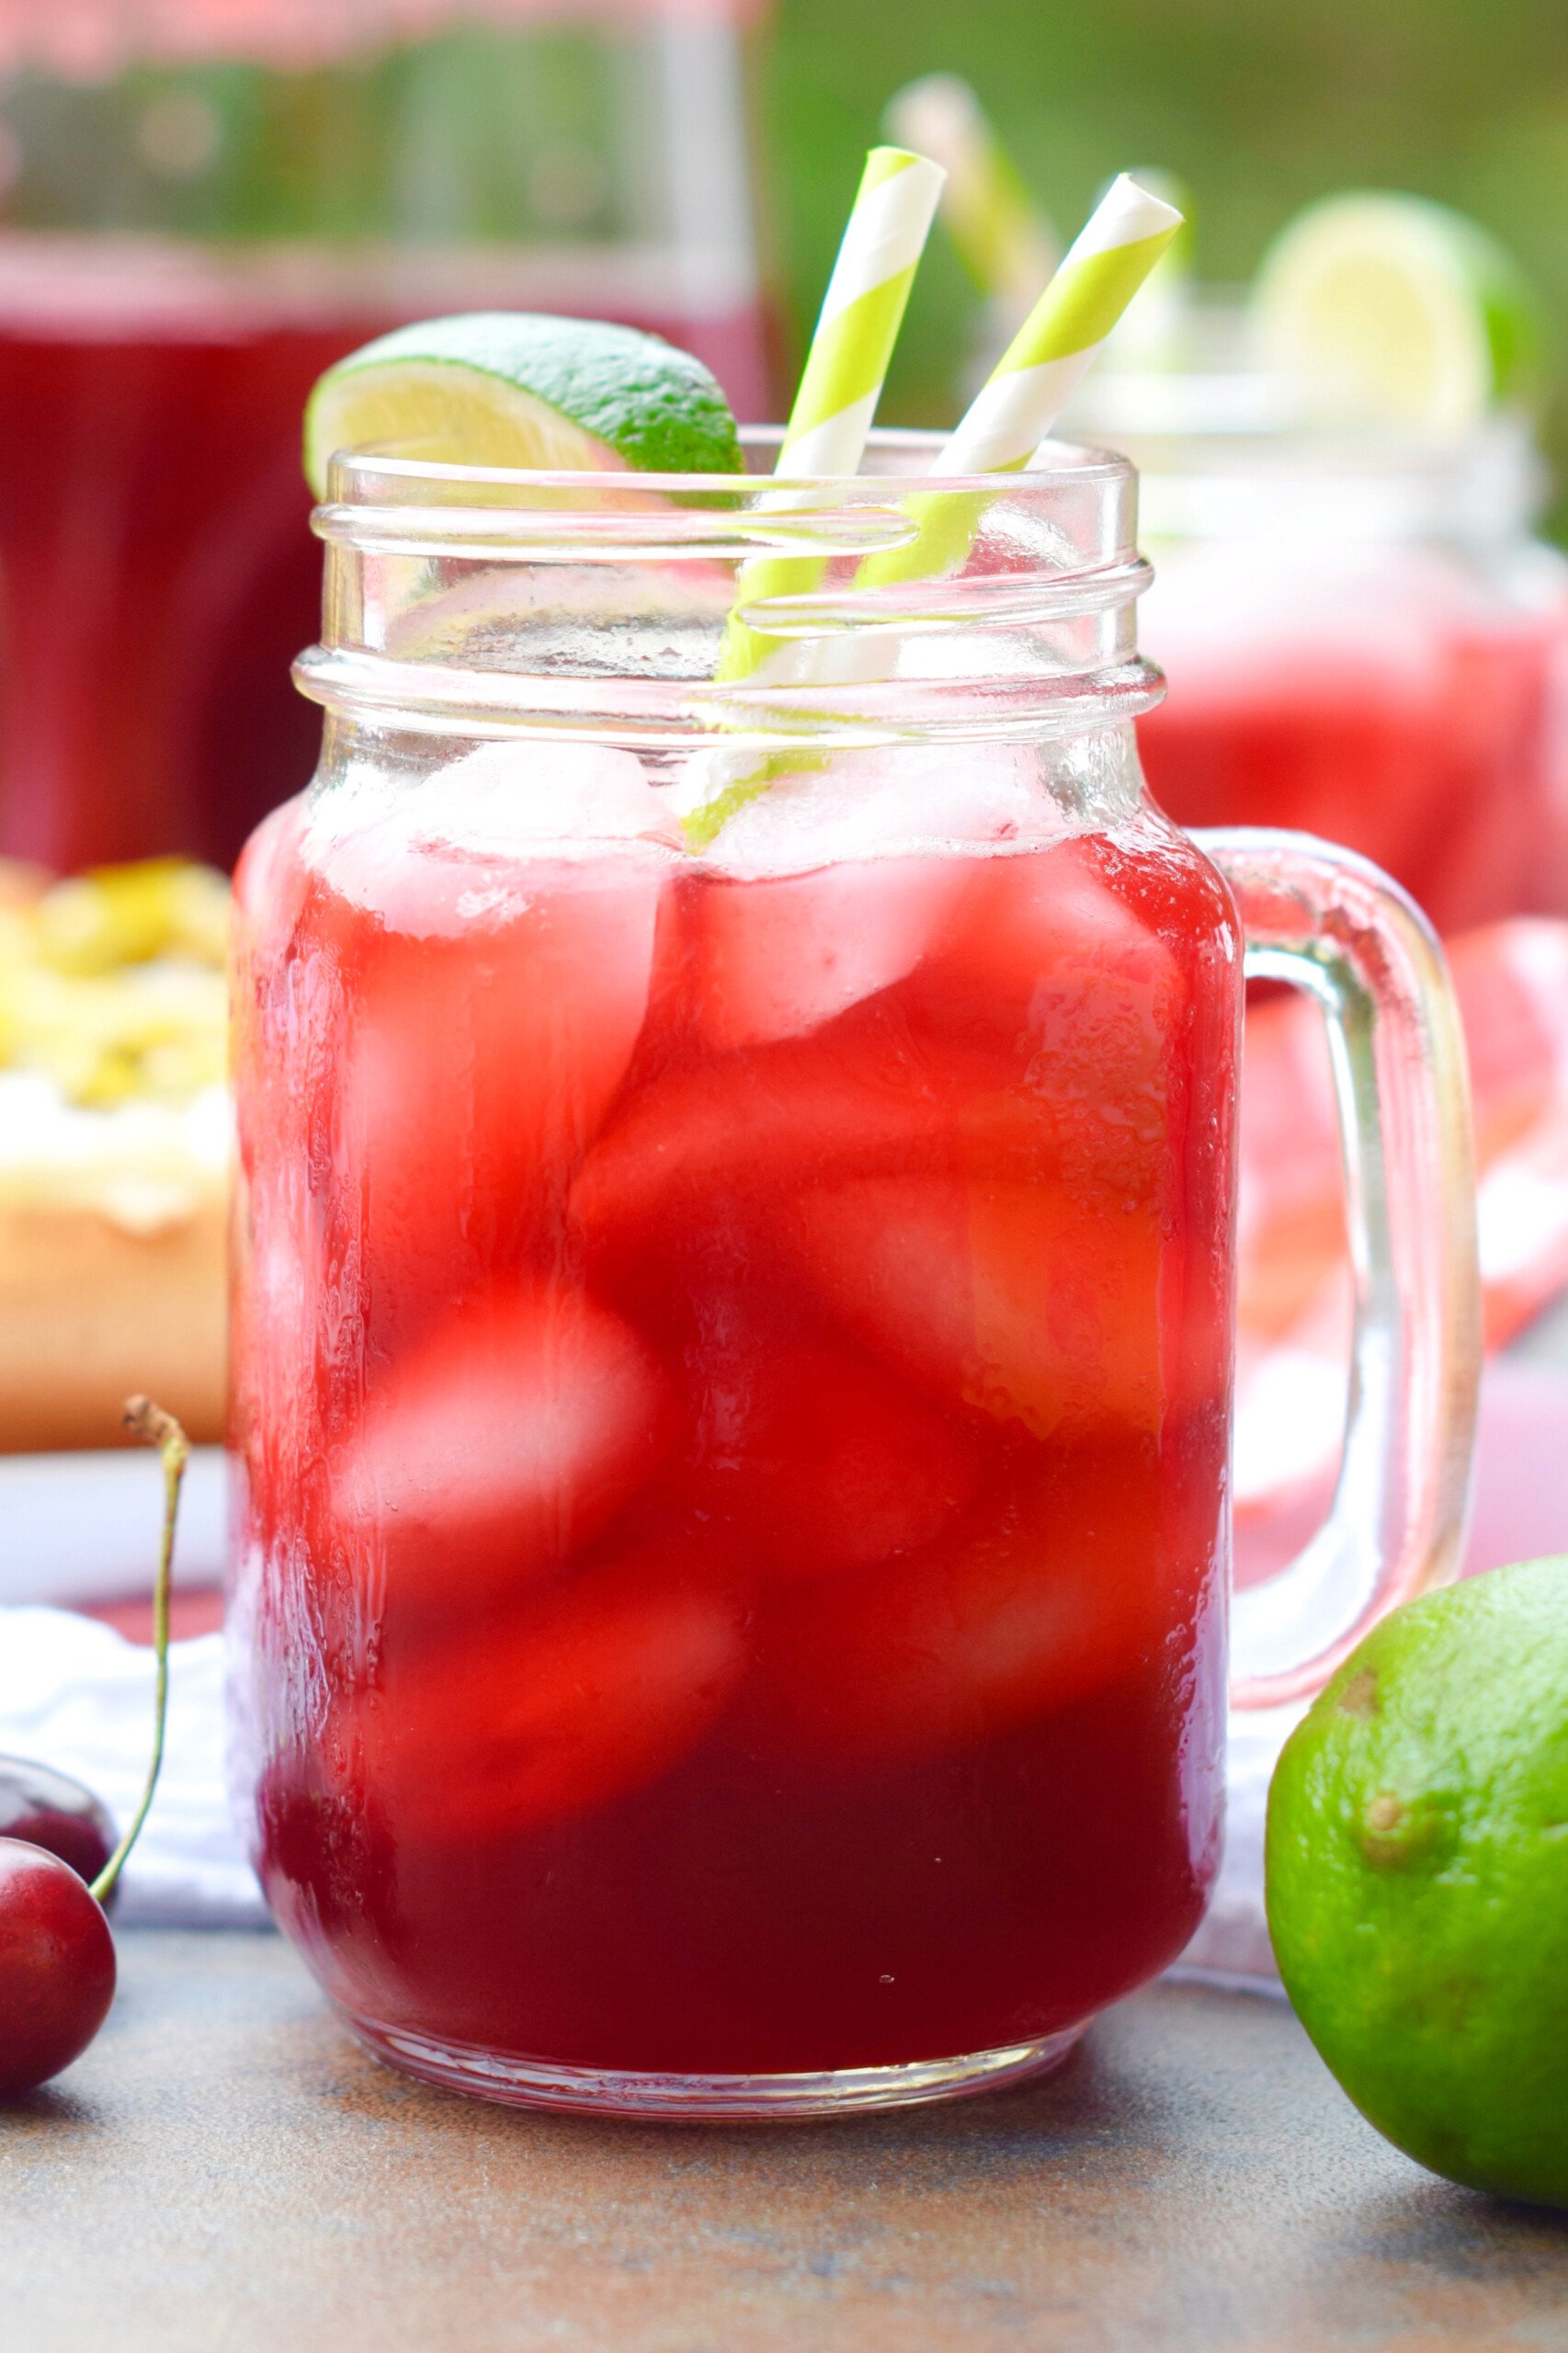
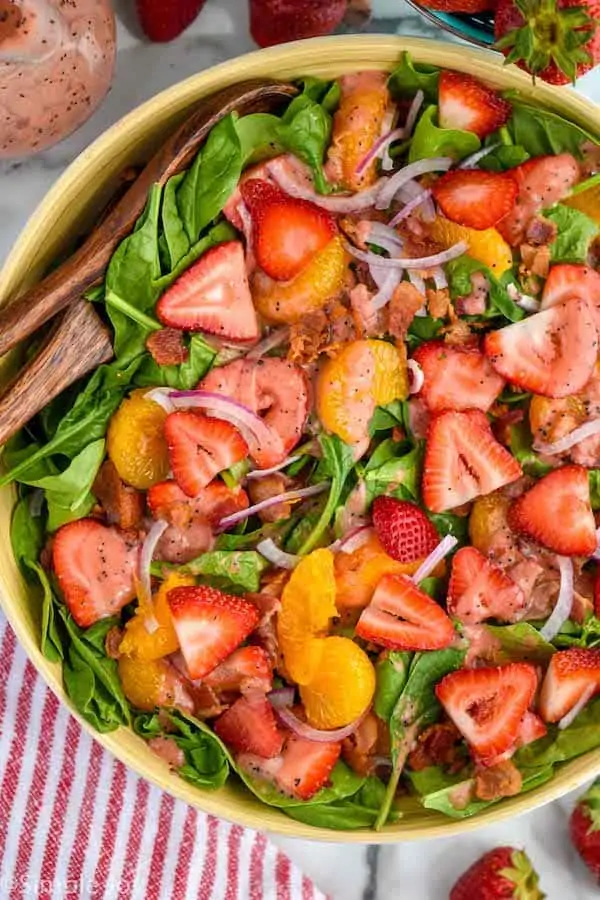
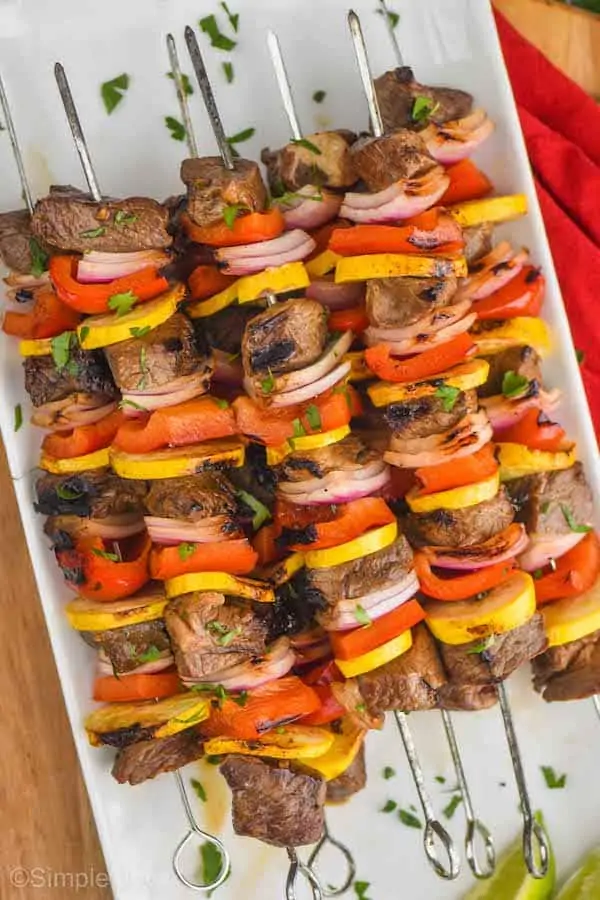
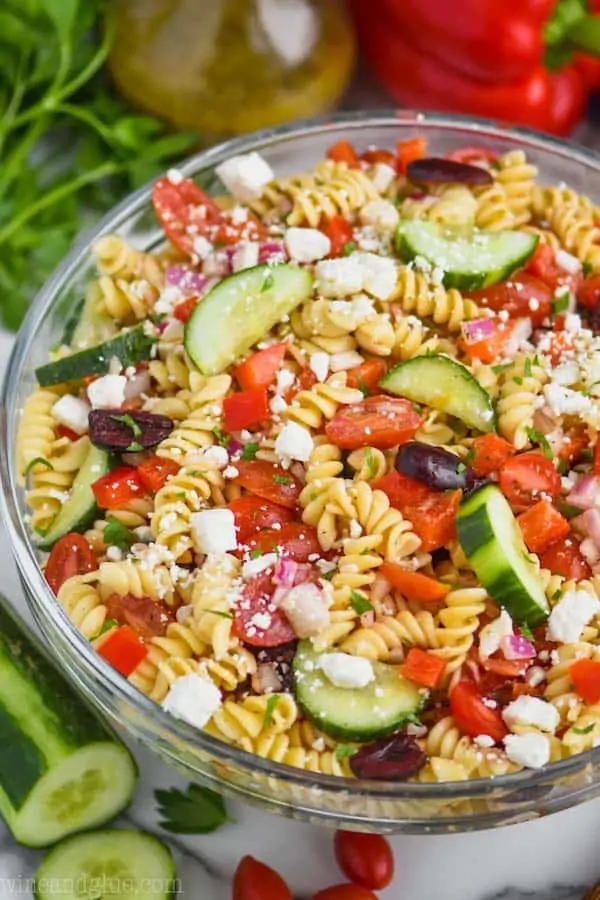
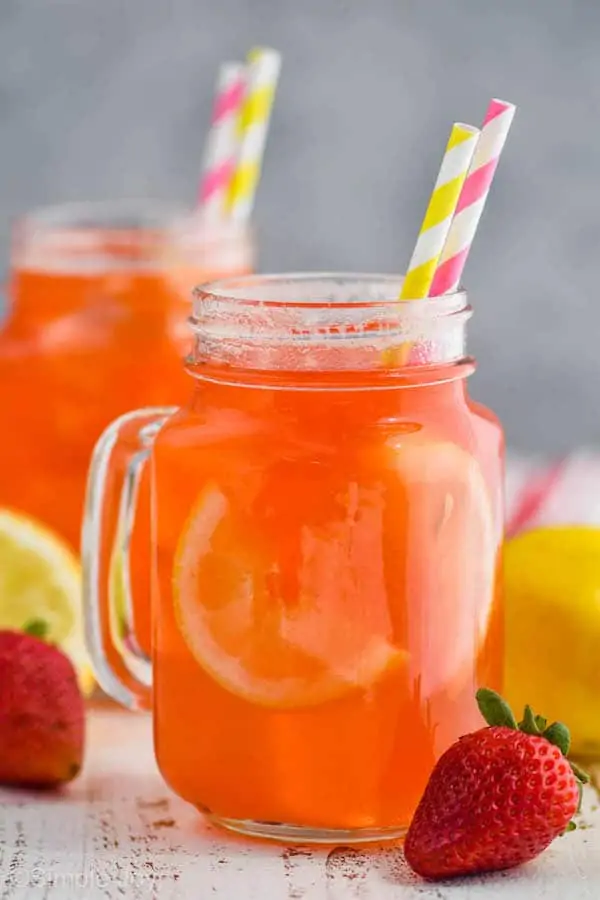
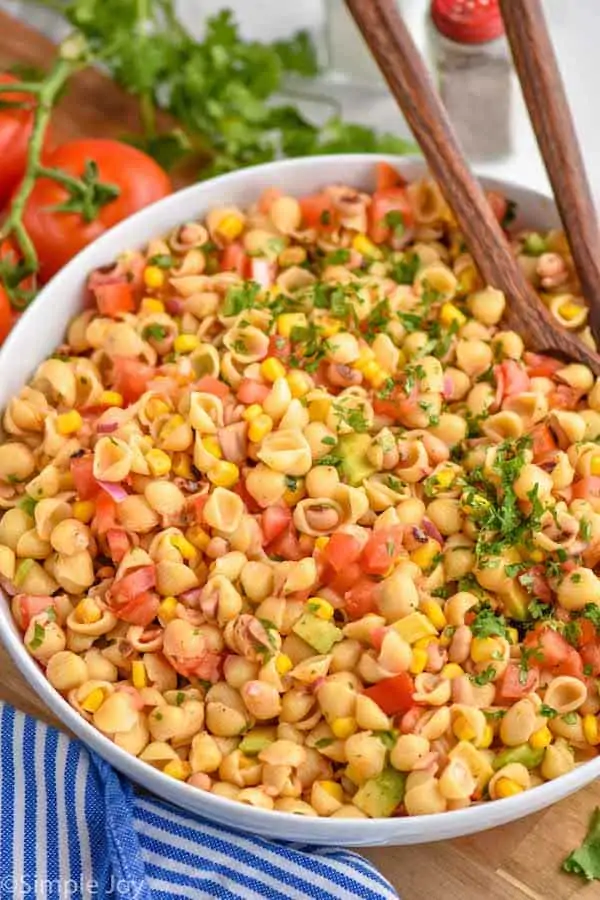
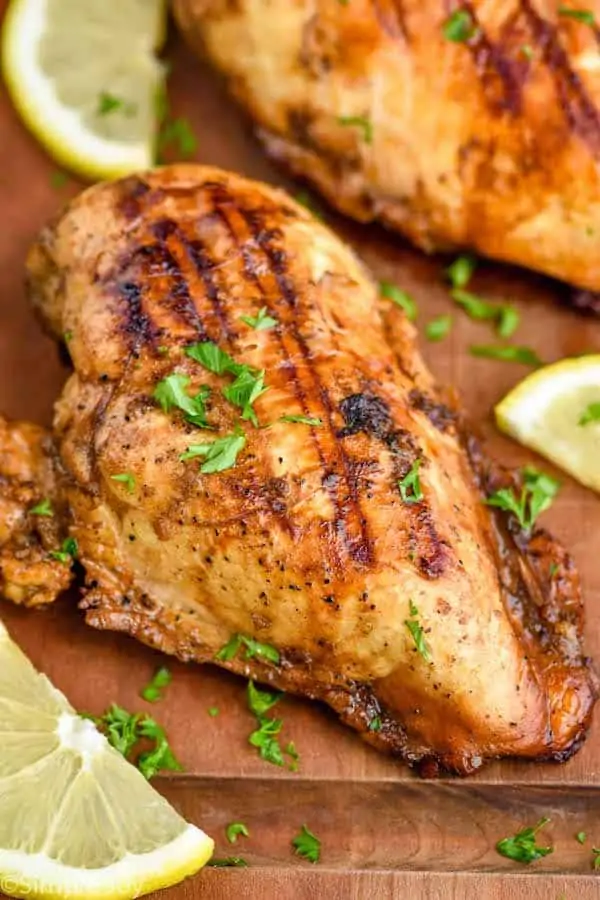
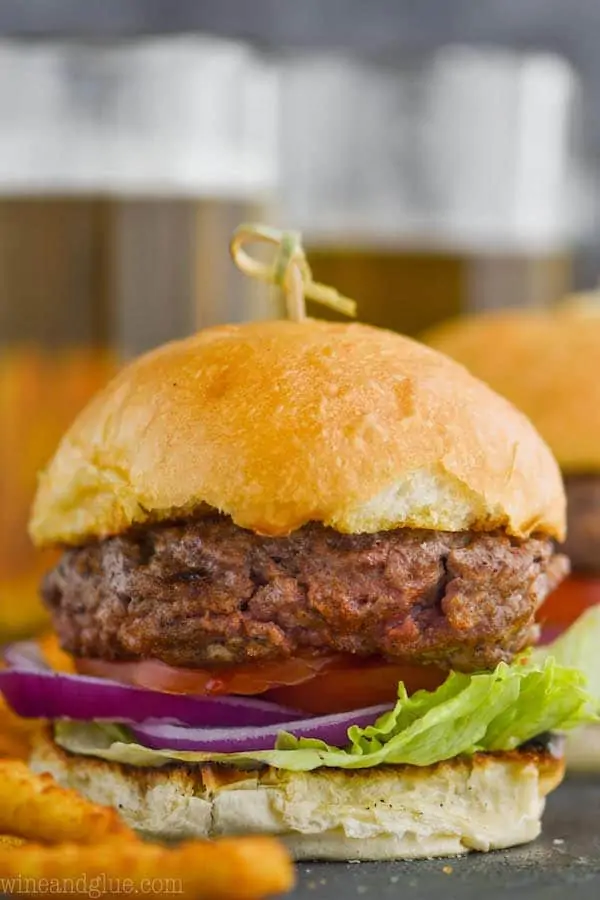
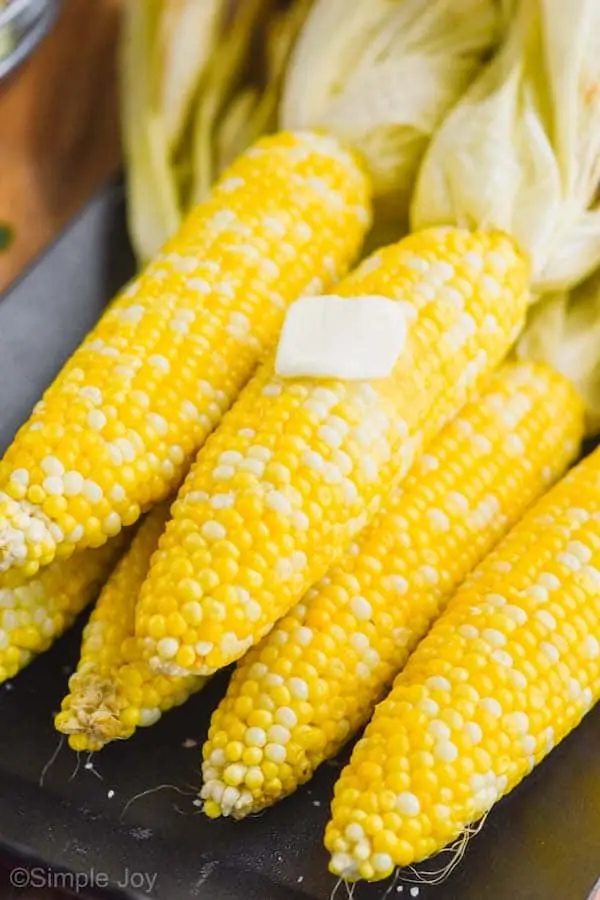
One of the best parts of summer is the Fourth of July, and of course, the yummy all-American spread of food and drinks that accompany it! From cookout dishes to salads to desserts, we know you’ll love these perfectly patriotic recipes!
WHO ARE WE "KID"-DING?!
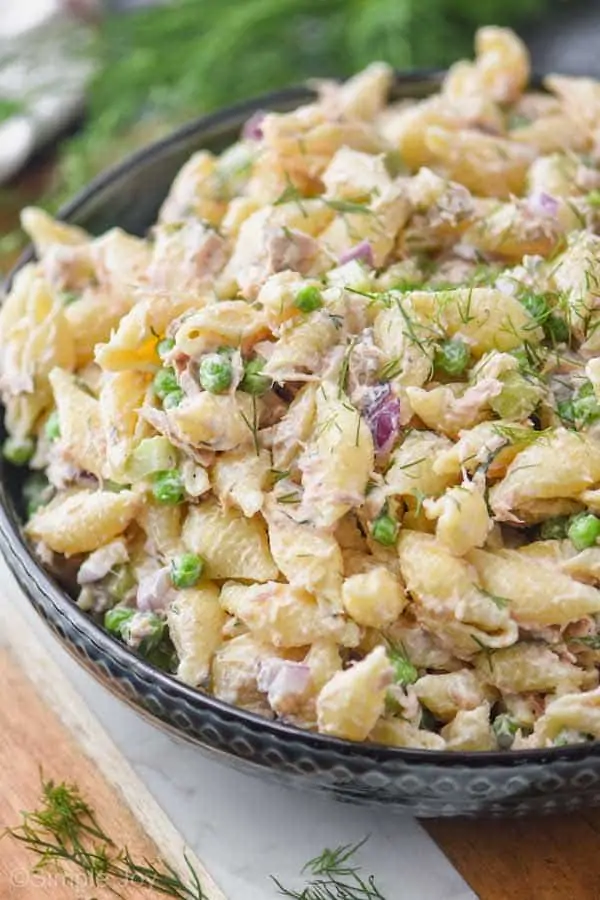
30+ Kid Friendly MealsNot sure what to make for the picky eaters at your next party? These Kid-Friendly recipes are sure to be a hit! The flavors in these dinner recipes are loved by kids AND parents alike.
browse all kid-friendly recipes