facebook instagram pinterest twitter youtube
Simple Joy
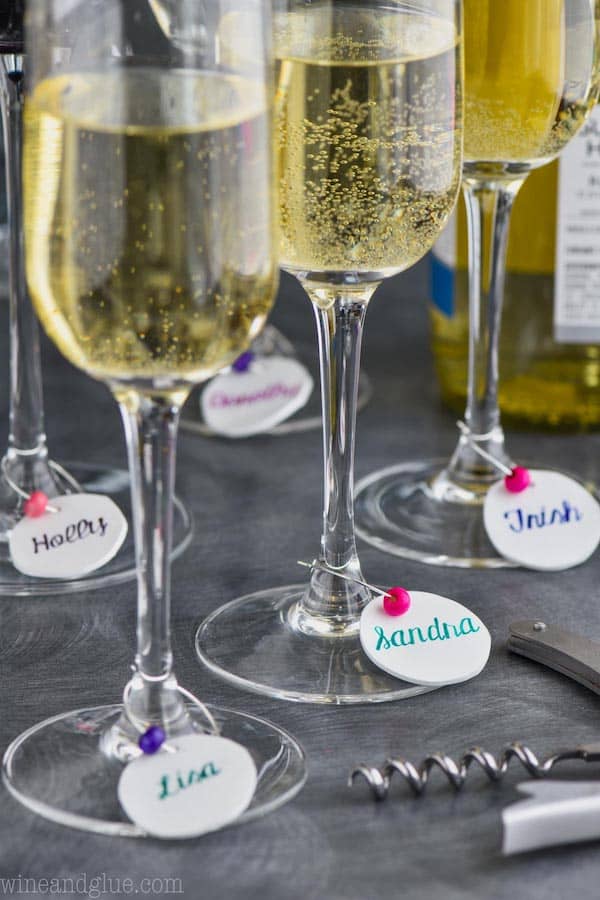
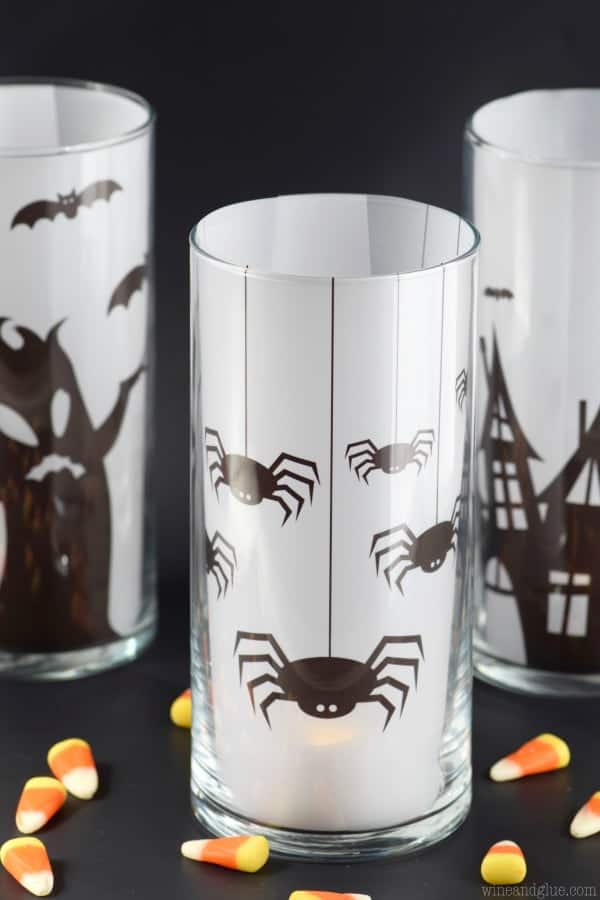
Easy and simple crafts are my favorite kind to make! These tutorials are a breeze to follow along.
Drinks
03 hours 05 minutes
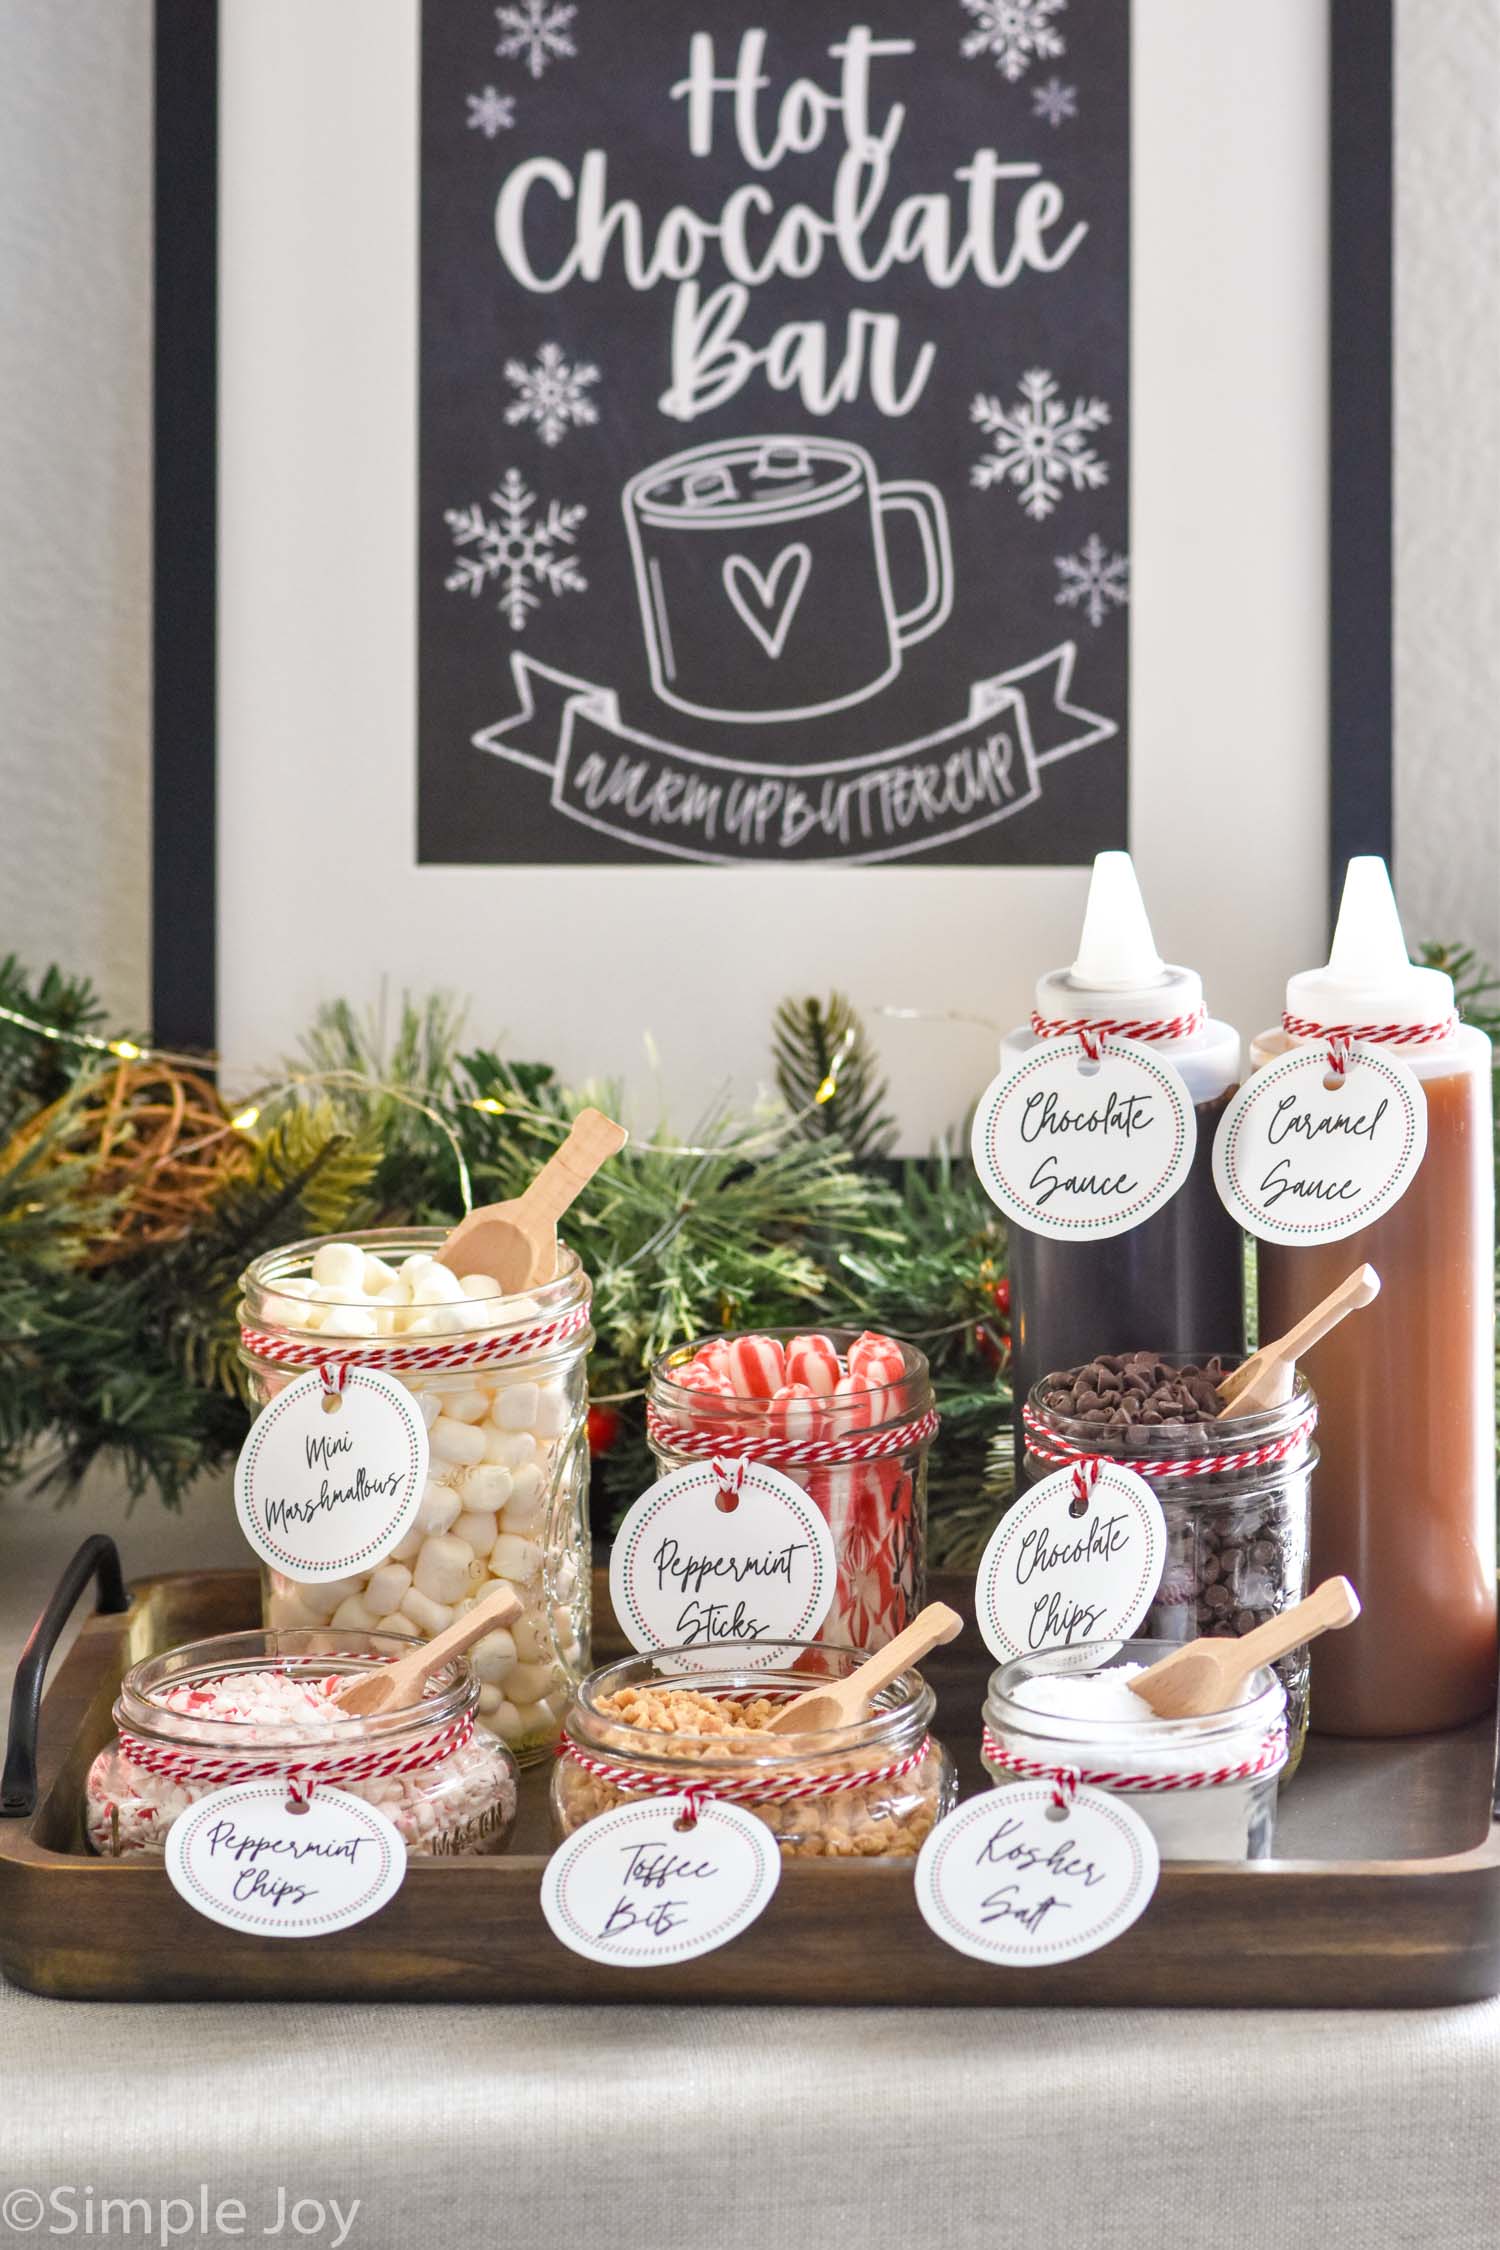
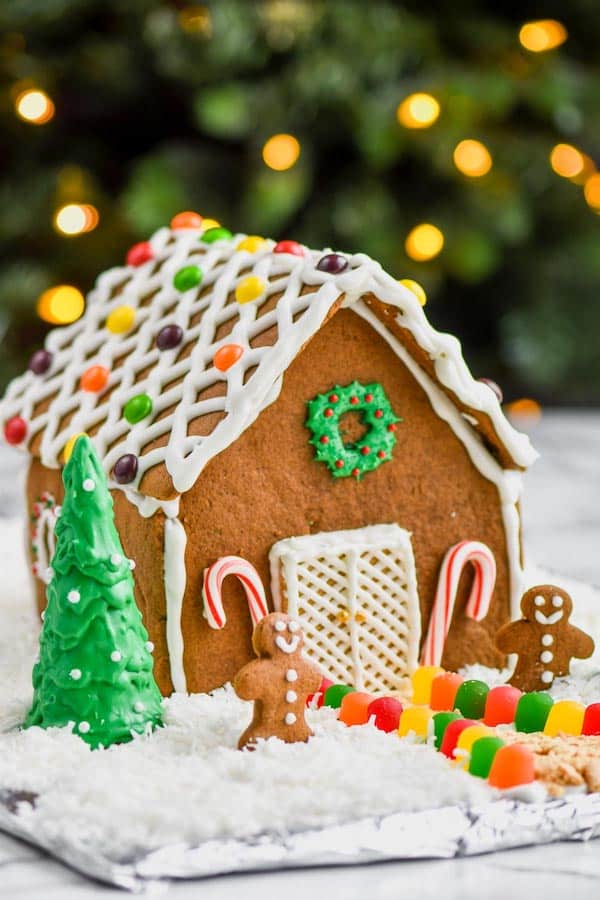
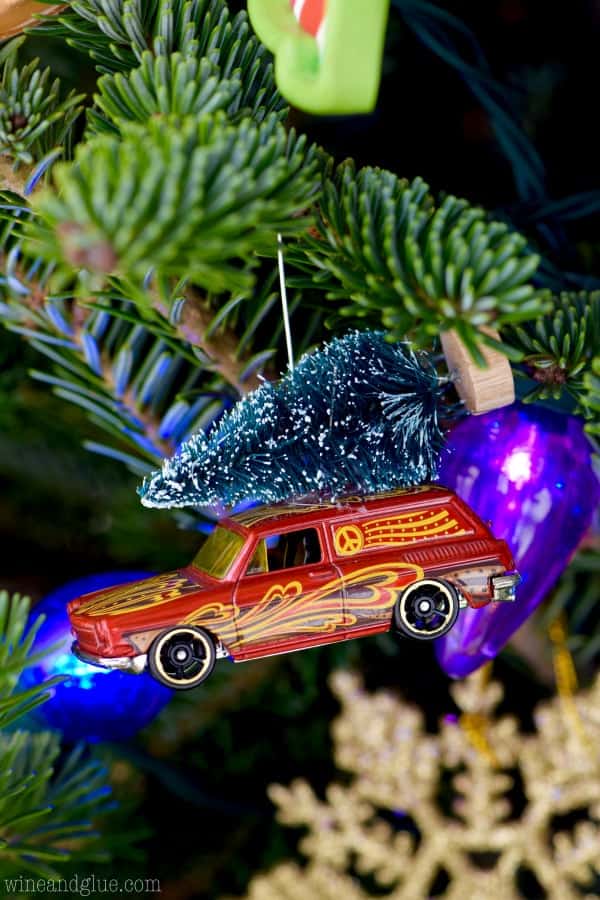
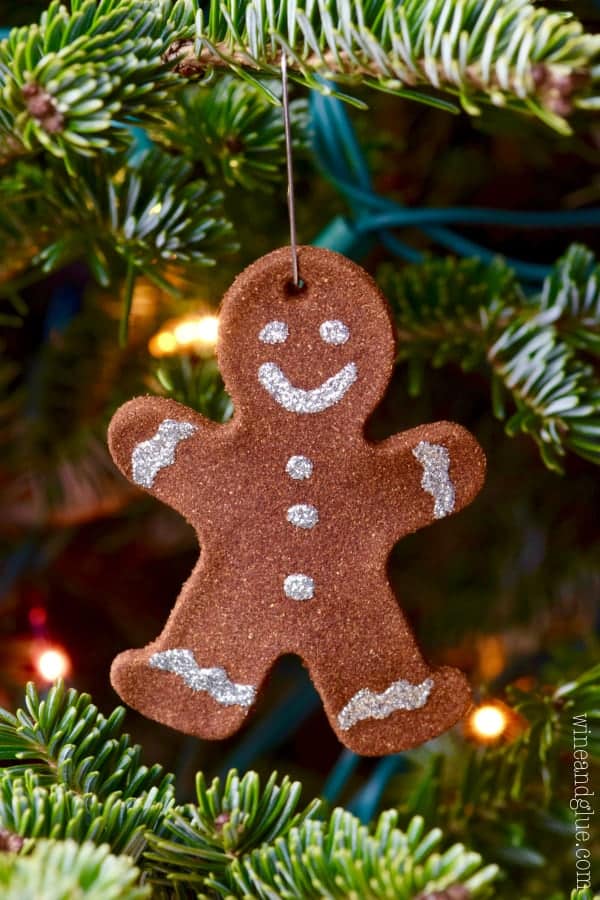
Christmas
35 minutes
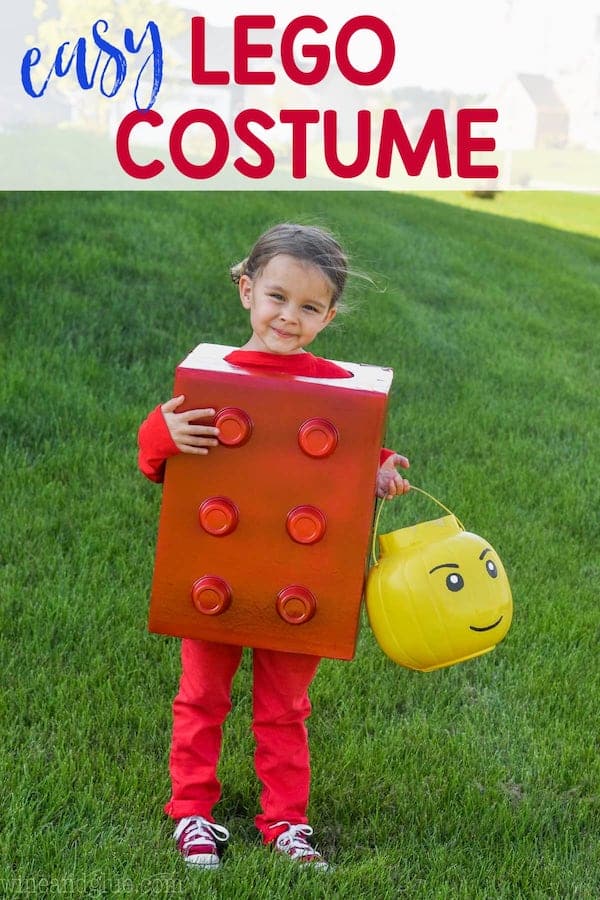
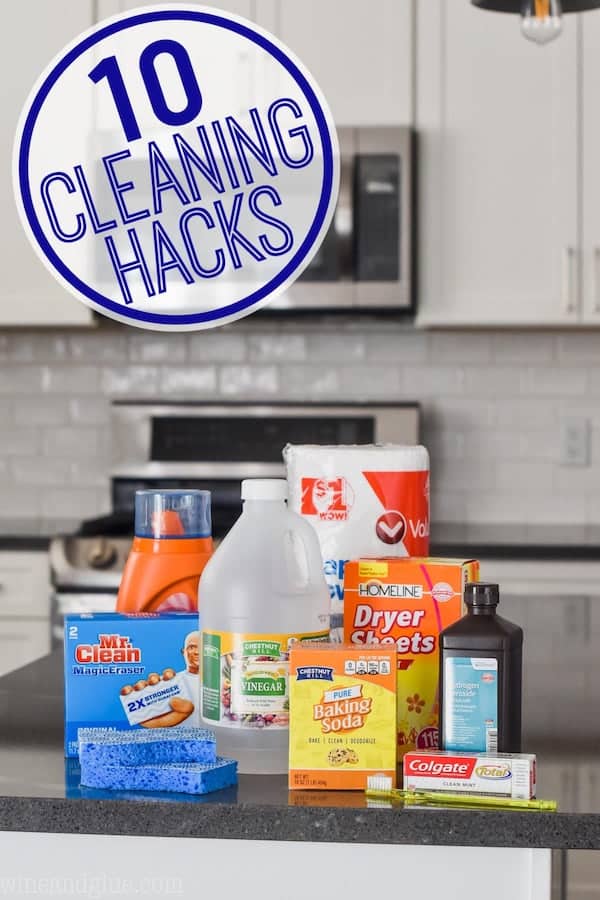
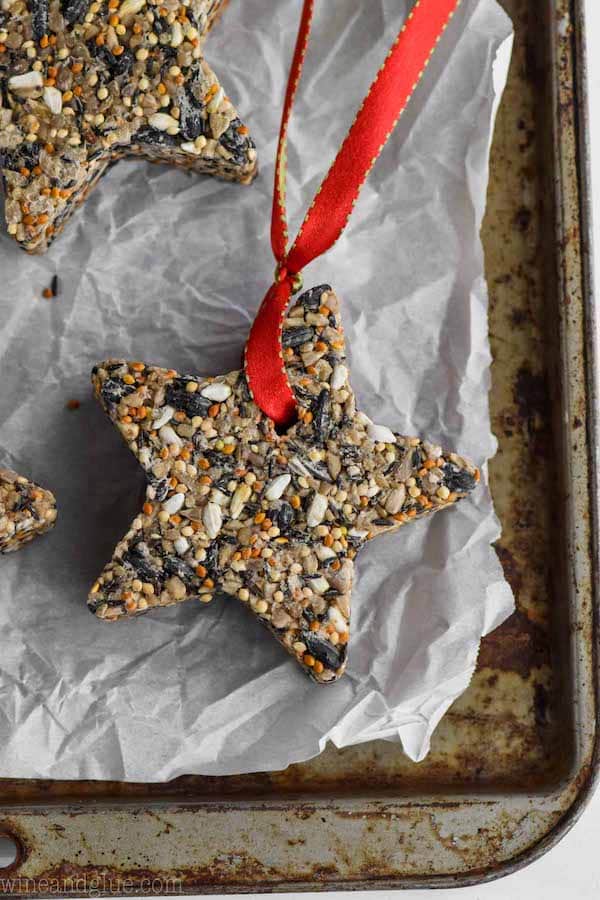
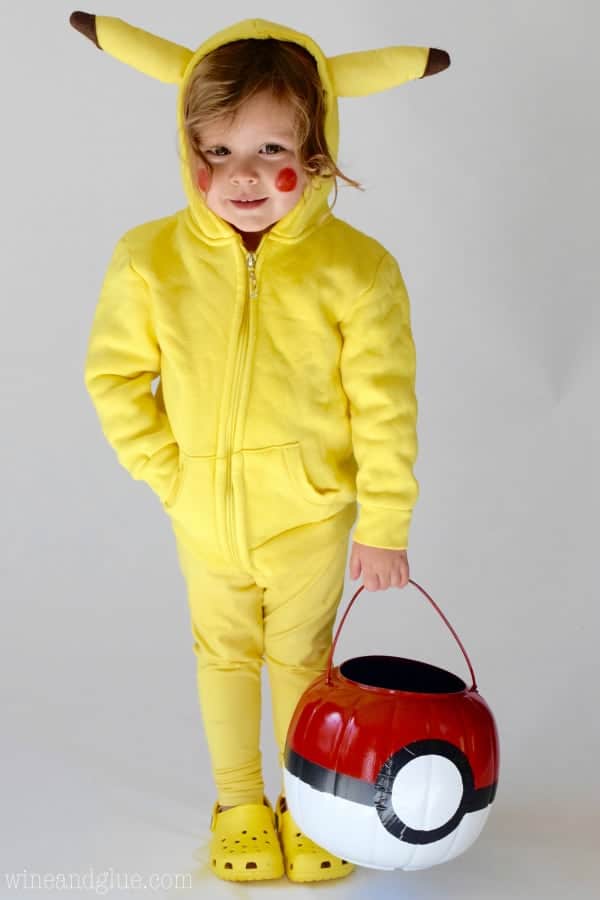
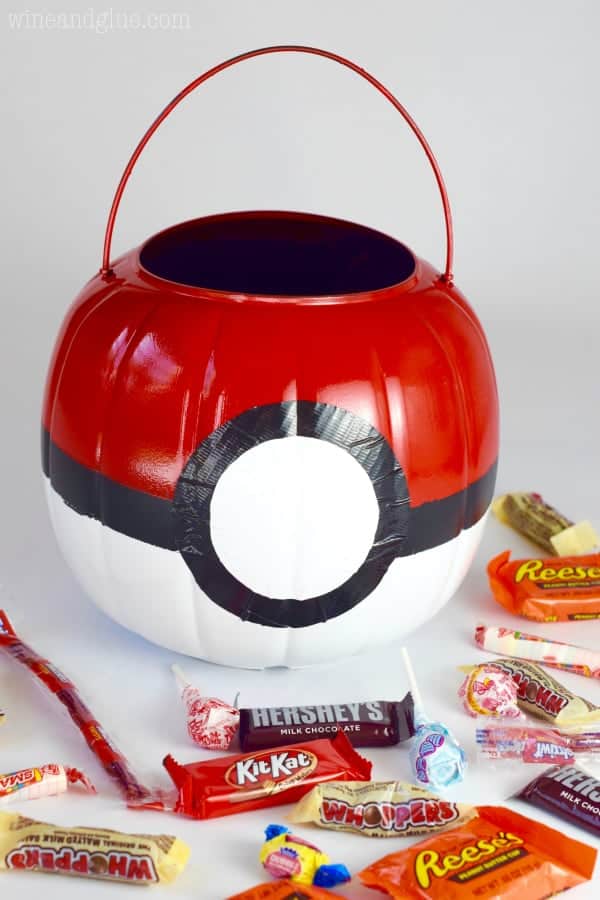
Crafts
30 minutes
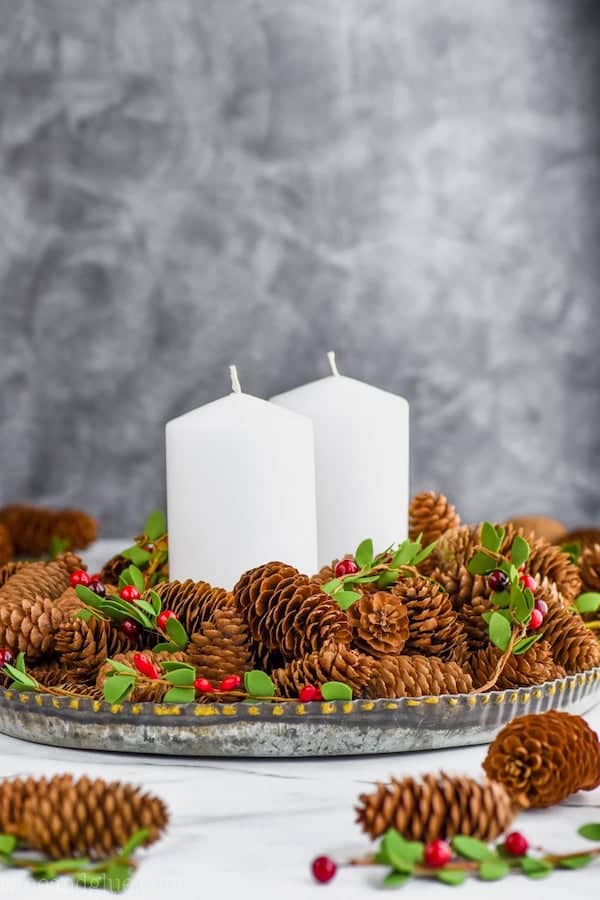
Home Decor
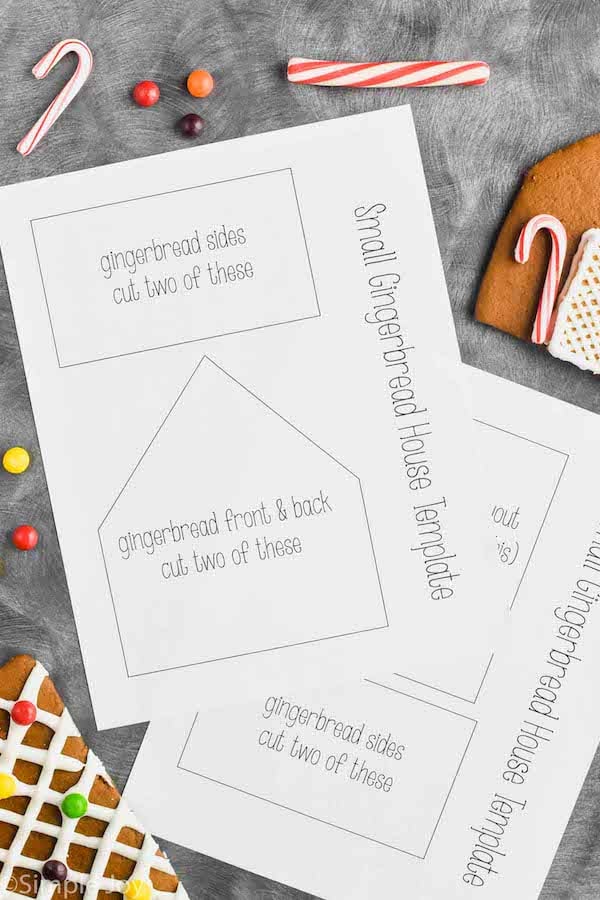
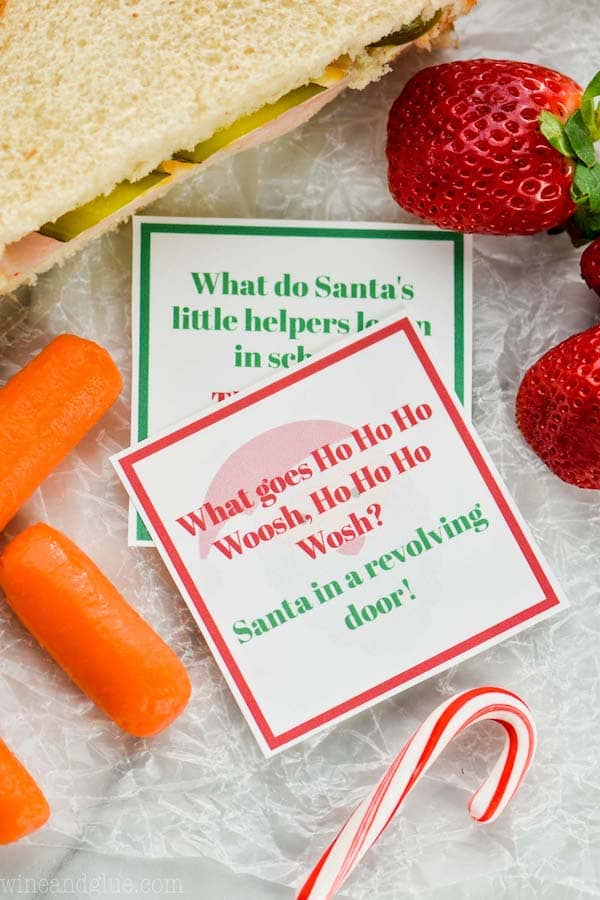
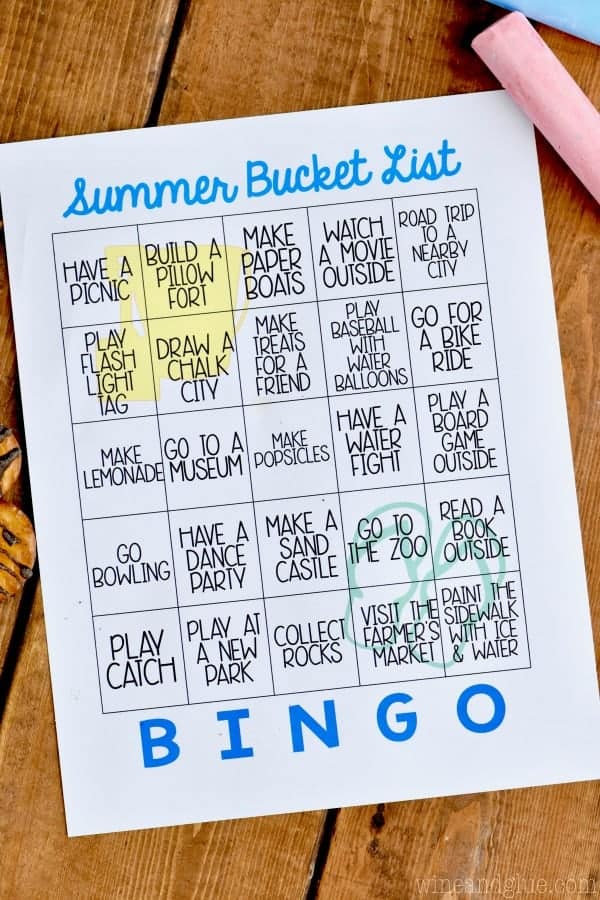
Free Printables
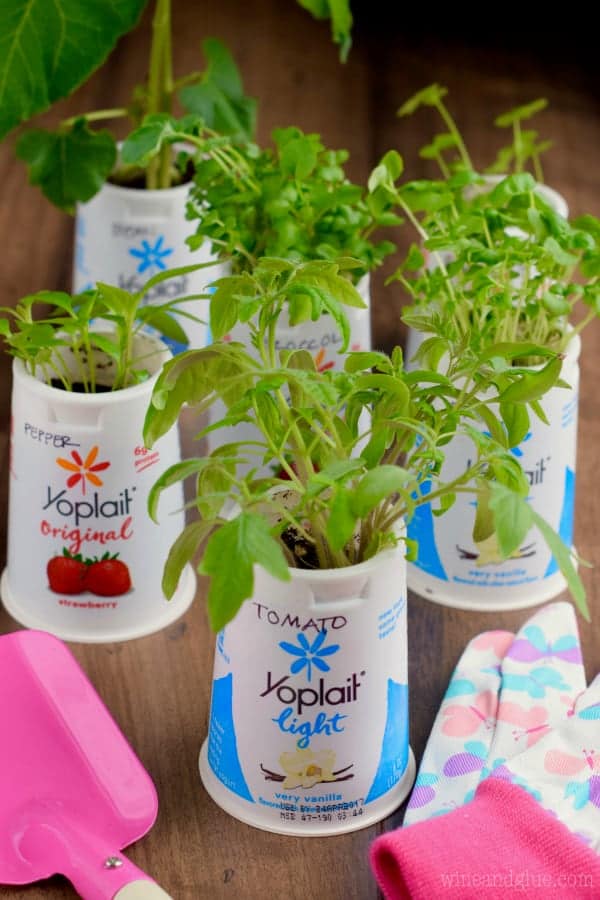
Activities for Kids
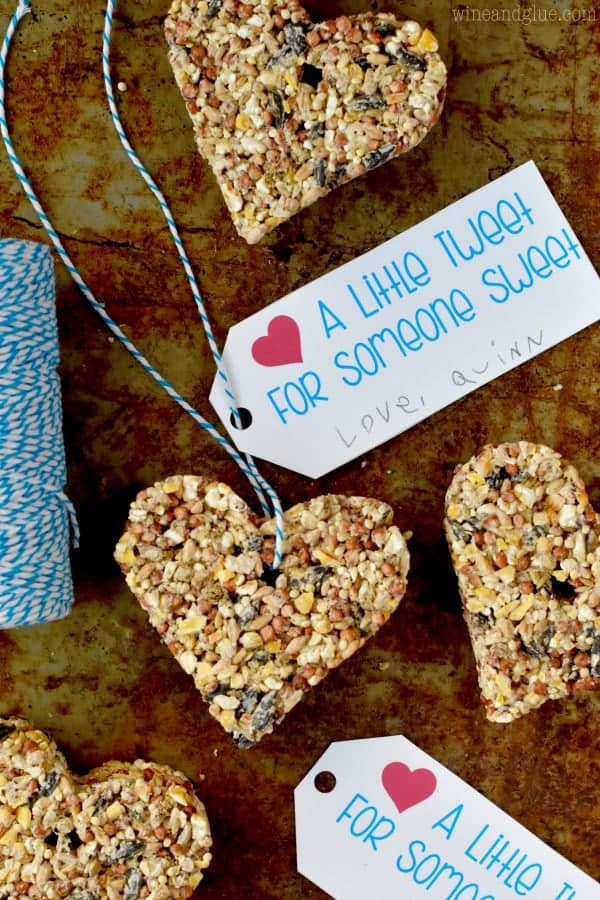
Homemade Gifts
SUBSCRIBE & RECEIVE
5 Secrets to Stress Free Dinners
MY TOP 10 EASY DINNER EBOOK!