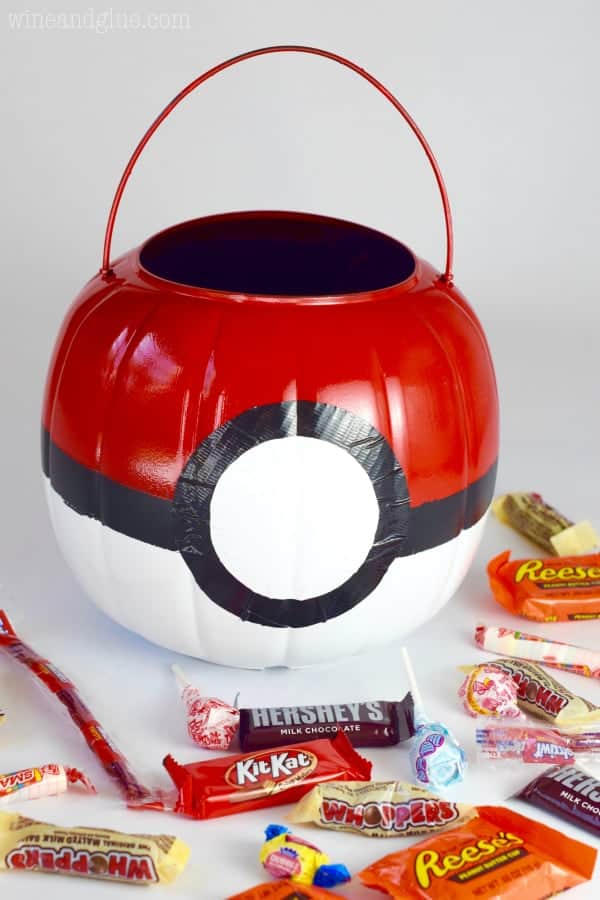
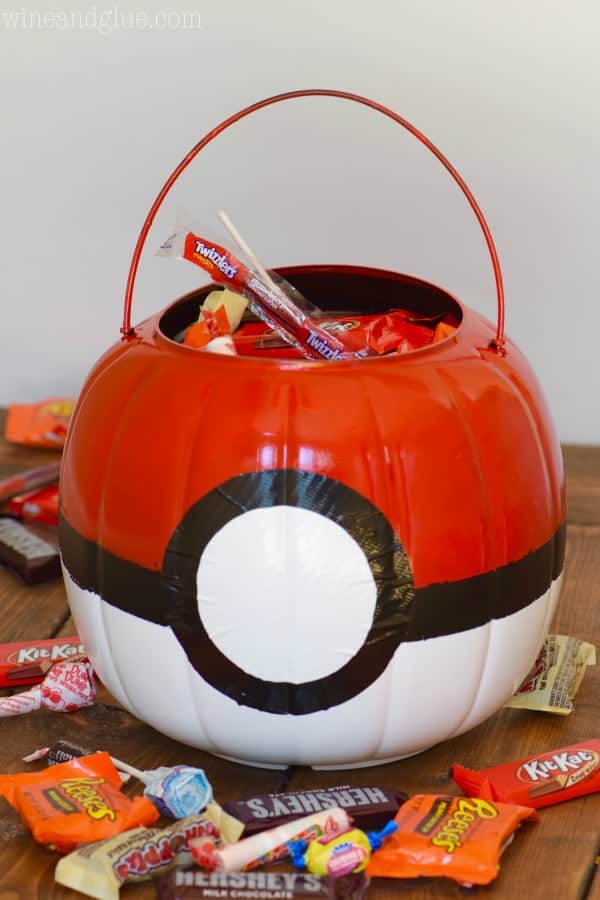
This Poké Ball Treat Bucket is such a super simple craft that will make your kiddo thrilled with their Pokémon Costume!
So my kids are totally obsessed with Pokemon Go. I mean . . . I kind of am too so I can’t really blame them. So when I was thinking about Halloween and how the true crafty Lisa comes out around mid September, I started thinking about how *awesome* it would be to make a Poké Ball Treat Bucket! And you guys, it’s super easy. Even the novice crafter (aka me) can pull this bad boy off.
There are 3.2 billion photos for this post so let’s jump in, eh?
(Heads up! This is a multi-day project, friends, so make sure you account for that. And make sure you read ALL the instructions before starting.)
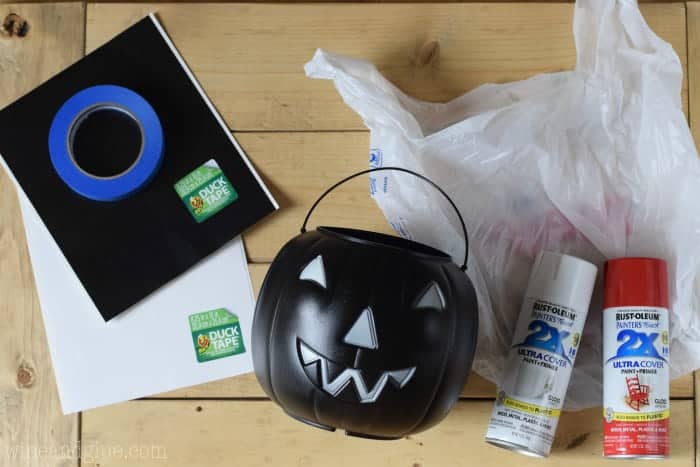
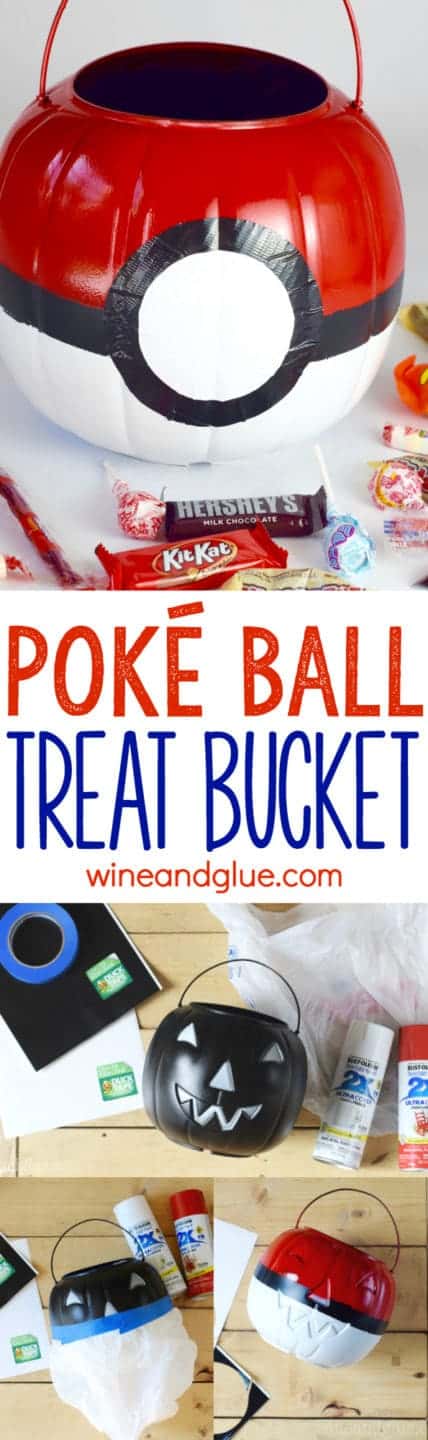
Let’s first talk about our supplies. You are going to need:
- a black pumpkin bucket (if you can’t find black, buy another color and add electrical tape to your supply list)
- duck tape paper, one sheet white, one sheet black (found at Wal Mart and craft stores)
- painter’s tape
- a plastic bag (or three)
- white glossy spray paint
- red glossy spray paint
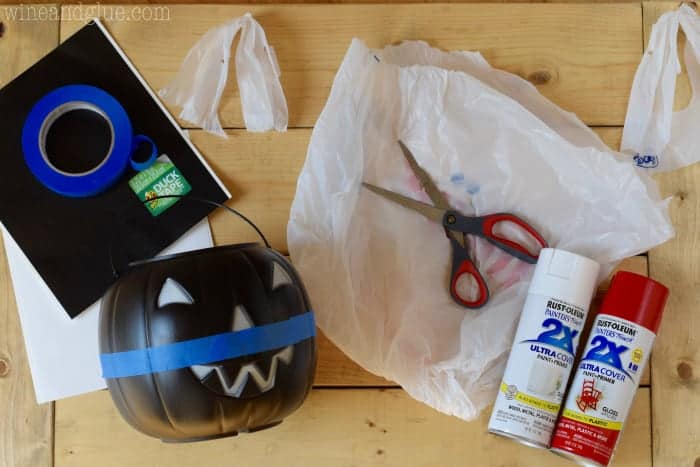
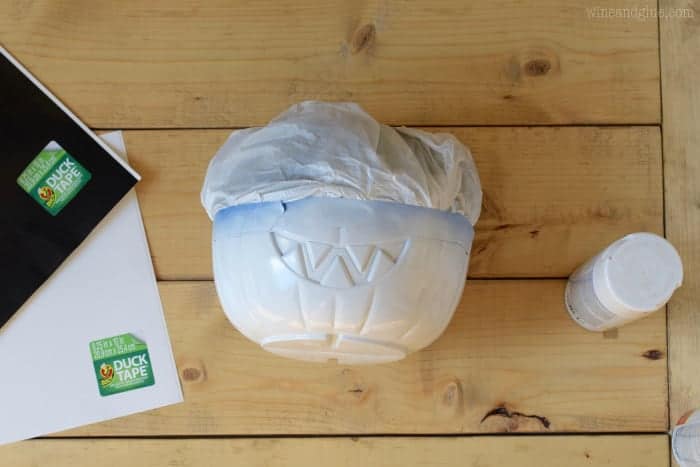
Add a ring of painter’s tape to the middle of your bucket all the way around. Make sure it is firmly pressed against the plastic, even in the grooves of the pumpkin. This tape will stay on the bucket throughout the next steps of the project until the end. You will add more tape, but you won’t take this layer off until you are completely done painting.
Cut the handles off your plastic bag.
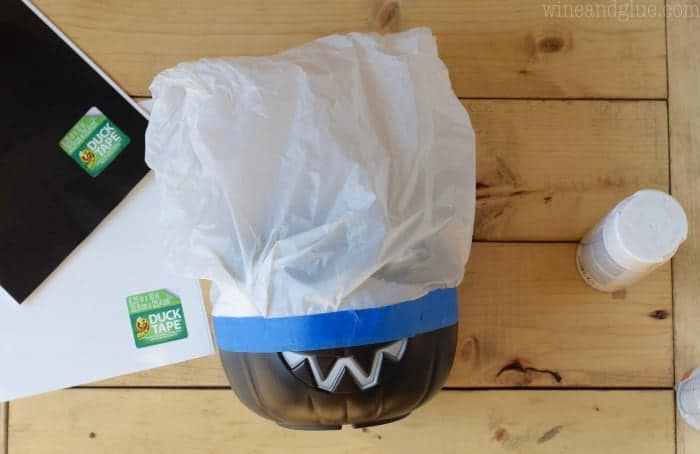
Tape the plastic bag around your pumpkin using another ring of painter’s tape. You want to make sure that the top is completely sealed off.
Spray paint the bottom white and make sure it dries completely before moving on.
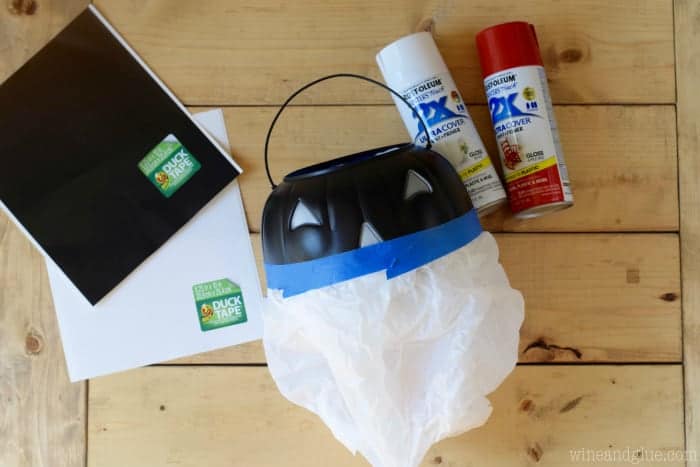
Now cover up the bottom of the bucket with the plastic bag. Remember, you aren’t taking off that middle layer of tape. That stays on there from start to finish. You are adding more painter’s tape to hold the bag in place.
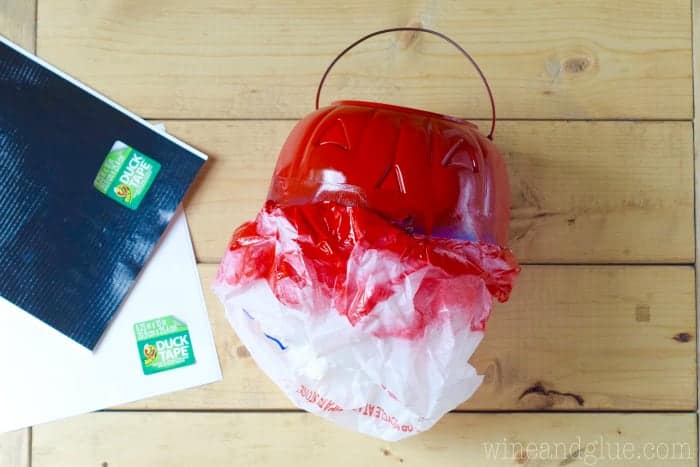
Spray paint the top red. You can hold it by the plastic bag and spray upside down, or you can tape a plastic bag to the inside of the bucket and then you won’t get paint in there. Or you can just have at it.

Remove the plastic bag once the red paint is completely dry.
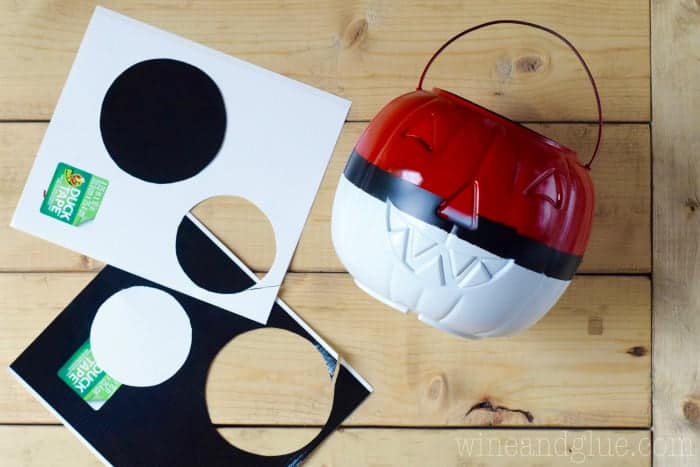
Remove the blue painter’s tape. Then cut a big circle of black and then a small circle of white and put them on the side of the pumpkin opposite the face!
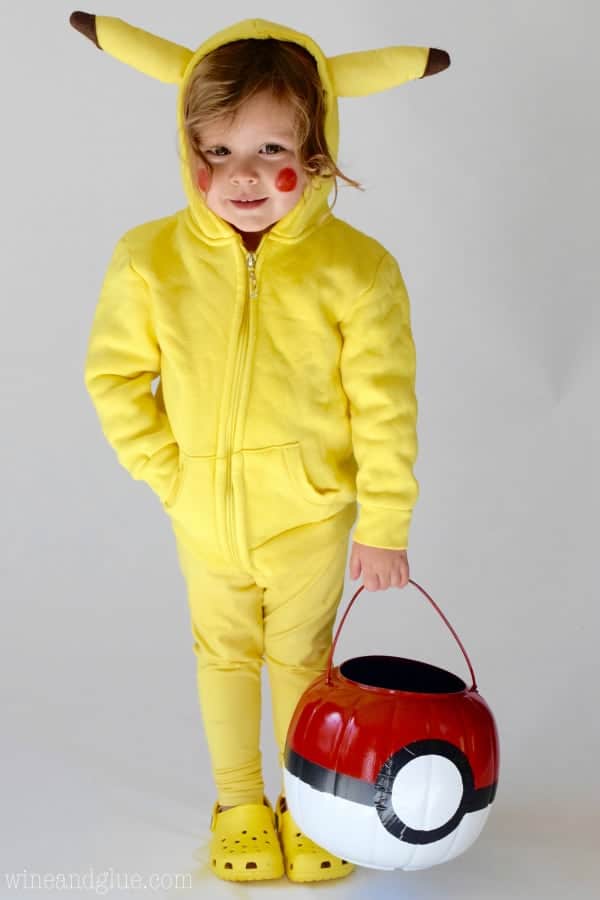
Pair it with the perfect Halloween costume and you are good to go! ;) Come back tomorrow to learn how to make Pikachu!


Melissa says
That is an awesome craft! At the Target by our house, they even painted one of their big red balls out in front like a Pokeball! Did your Target do this?
Raquel says
Any tricks to making the electrical tape look really good if I don’t have black to begin with as my base?
(I am not going to use a Halloween bucket, though.)
It’s hard for me to know without seeing the project in front of me and the supplies you have. But! I would say steer away from painting the electrical tape. Depending on the tape, it is often really matte, so will likely look smooth and good on it’s own.
Melissa says
Hi I’m doing this for my boys this year and no black buckets and no duck tape sheets, lol . So I bought a roll of white duck tape and a roll of black. I believe I can make that work. My question is about what size where both circles you cut out? Thanks!
Hi Melissa! I tried to dig this out, but it has been years since we made it and I can’t find it. If I had to guess, I would say five inches for the big circle and about 3 1/2 for the smaller one.